Table of Contents: Sandwich Bread Recipe
Introduction: Sandwich Bread Recipe
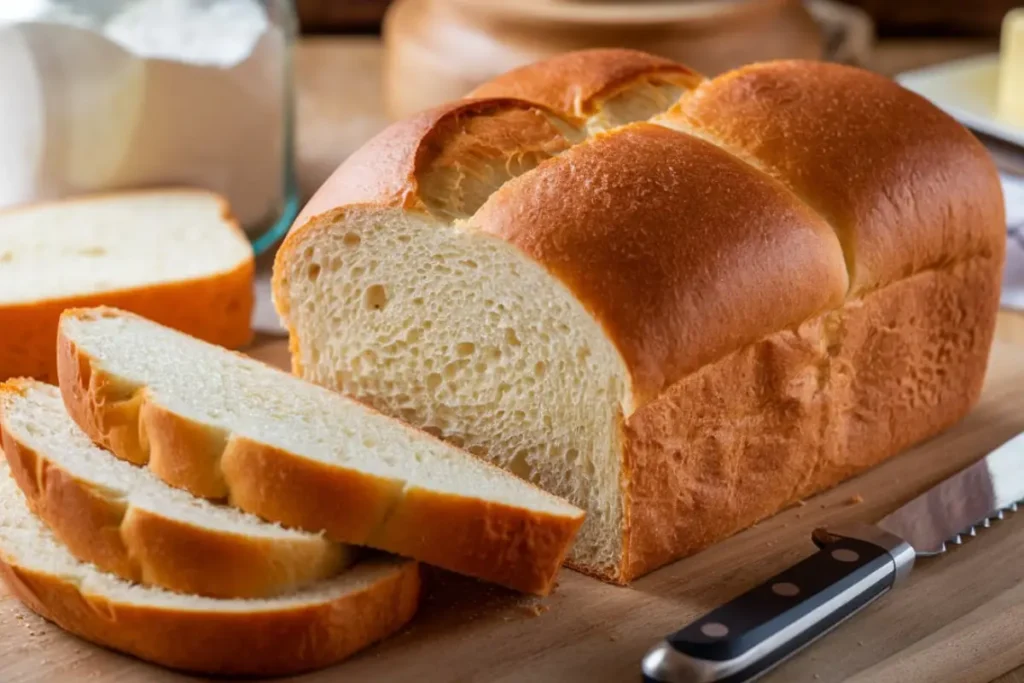
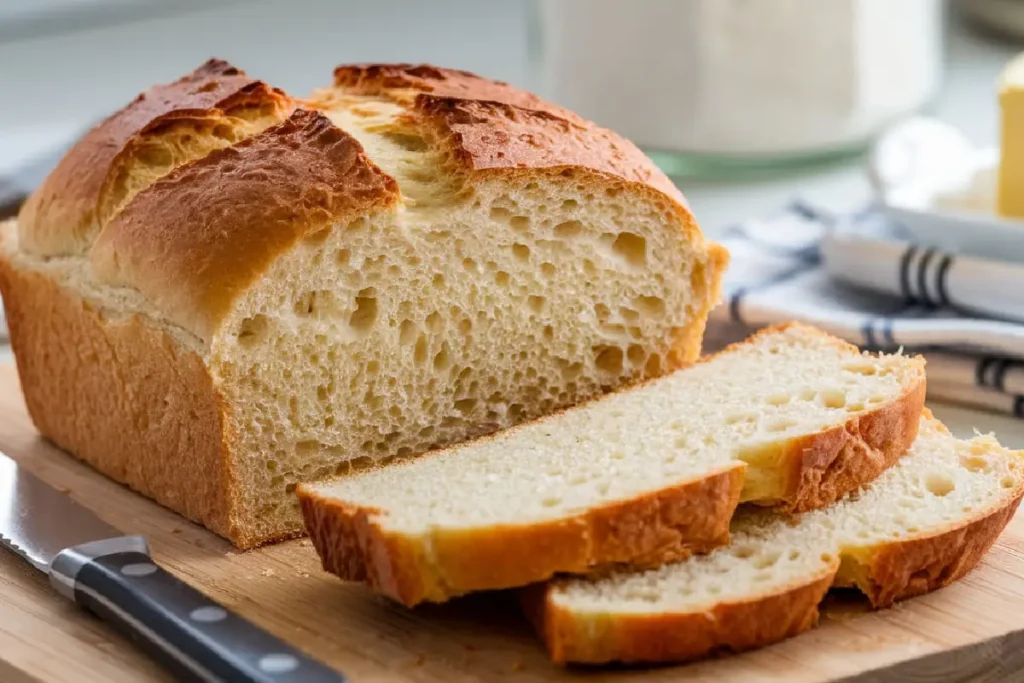
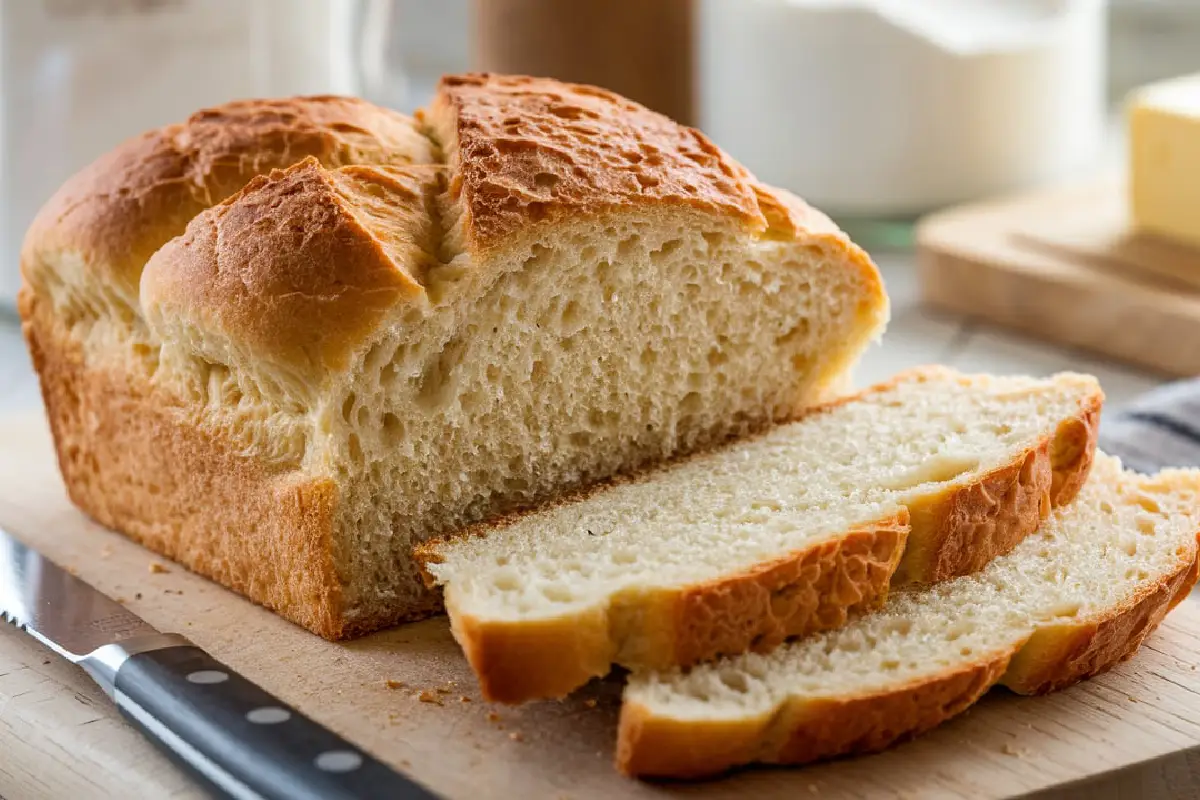
There’s nothing quite like the smell of freshly baked bread wafting through your kitchen—warm, buttery, and irresistibly inviting. If you’ve ever bought sandwich bread from the store only to find it dry or bland, this Sandwich Bread Recipe is your game-changer. With just a handful of pantry staples and a little patience, you can bake a loaf so soft, fluffy, and delicious that you’ll never go back to store-bought again.
What makes this recipe special? It’s simple, foolproof, and family-approved. Unlike complicated artisan loaves, this sandwich bread requires no fancy techniques—just 5 easy steps from mixing to slicing. Plus, it’s cheaper (and healthier!) than supermarket bread. Think of it as the homemade upgrade to your classic white bread, much like our popular Honey Wheat Bread but even easier for beginners.
Ready to fill your home with the comforting aroma of freshly baked bread? Let’s get started!
What is Sandwich Bread?
Ever wondered why it’s called sandwich bread? Well, it’s not just because it fits perfectly between two slices of turkey and cheese! This versatile loaf is the gold standard for sandwiches, toast, and even French toast—soft enough to bite into but sturdy enough to hold all your favorite fillings.
Some say the name comes from its perfectly square shape, designed to fit neatly in lunchboxes. Others believe it’s because this bread was made for stacking ingredients without falling apart. Whatever the reason, one thing’s for sure: “The way to someone’s heart is through their stomach,” and this bread is the ultimate way in.
So, why settle for mediocre slices when you can bake your own? Let’s make the best sandwich bread you’ve ever tasted!
Why You’ll Love This Sandwich Bread Recipe

- Soft, Fluffy, and Irresistible – No more dry, crumbly store-bought loaves! This recipe delivers a perfectly tender crumb with just the right amount of chew.
- Budget-Friendly & Healthier – Skip the preservatives and save money—homemade bread costs pennies per loaf compared to bakery prices.
- Endless Customization – Add honey for sweetness, seeds for crunch, or herbs for extra flavor. It’s your bread, your way!
If you love our No-Knead Artisan Bread, you’ll adore this even simpler version. So, grab your mixing bowl—it’s time to bake!
How to Make Sandwich Bread
Quick Overview
✔ Prep Time: 15 mins
✔ Rise Time: 1.5 hours
✔ Bake Time: 30 mins
✔ Total Time: 2 hours 15 mins
✔ Difficulty: Easy
✔ Yield: 1 loaf
This recipe is foolproof, requiring just 5 simple steps: mixing, kneading, rising, shaping, and baking. The result? A golden, buttery loaf that’s perfect for sandwiches, toast, or just slathering with jam.
Key Ingredients for Sandwich Bread
- 3 cups (360g) all-purpose flour (or bread flour for extra chew)
- 1 cup (240ml) warm milk (about 110°F)
- 2 tbsp (30g) unsalted butter, melted
- 2 tbsp (25g) sugar (or honey)
- 1 tsp (5g) salt
- 2 ¼ tsp (7g) instant yeast
(Optional add-ins: 1 tbsp honey, sesame seeds, or herbs for extra flavor.)
Step-by-Step Instructions
Step 1: Mix the Dough
In a large bowl, combine warm milk, sugar, and yeast. Let sit for 5 minutes until foamy. Add melted butter, salt, and flour, then mix until a shaggy dough forms.
Step 2: Knead Until Smooth
Turn the dough onto a floured surface and knead for 8-10 minutes until soft and elastic. (Pro tip: If it sticks, add a little more flour.)
Step 3: First Rise
Place dough in a greased bowl, cover with a towel, and let rise in a warm spot for 1 hour or until doubled in size.
Step 4: Shape the Loaf
Punch down the dough, then roll it into a log. Place it in a greased 9×5-inch loaf pan, cover, and let rise again for 30 minutes.
Step 5: Bake to Golden Perfection
Preheat oven to 350°F (175°C). Bake for 25-30 minutes until golden brown. Tap the loaf—if it sounds hollow, it’s done!
Let cool before slicing (if you can resist!).
What to Serve With Sandwich Bread
✔ Classic Sandwiches (PB&J, turkey & cheese, BLT)
✔ Toast with Butter & Jam
✔ French Toast or Bread Pudding (for a sweet twist!)
✔ Soup & Salad Sidekick (perfect with tomato soup!)
Top Tips for Perfecting Sandwich Bread
🔹 Use a kitchen scale for precise measurements.
🔹 Don’t skip the second rise—it ensures a light, airy loaf.
🔹 Brush with melted butter after baking for extra softness.
🔹 No loaf pan? Shape into rolls or bake free-form!
Storing and Reheating Tips
✅ Room Temp: Keep in an airtight bag for 3-4 days.
✅ Freezing: Slice and freeze for up to 3 months (toast straight from frozen!).
✅ Reviving Stale Bread: Sprinkle with water and warm in the oven for 5 minutes.
FAQs About Sandwich Bread Recipe

Q: Can I use whole wheat flour instead of all-purpose?
A: Absolutely! For a healthier twist, substitute half or all of the flour with whole wheat. Keep in mind that whole wheat bread will be denser, so you may need to add 1-2 tbsp extra water or milk to keep the dough soft.
Q: Why didn’t my bread rise properly?
A: This usually happens if the yeast is old or the liquid was too hot (over 110°F can kill yeast). Always check yeast freshness and use a thermometer for accuracy.
Q: Can I make this bread without a loaf pan?
A: Yes! Shape the dough into a round boule or rolls and bake on a lined baking sheet. Adjust baking time to 20-25 minutes.
Q: How do I get a softer crust?
A: Right after baking, brush the loaf with melted butter and cover it with a clean towel while cooling. This keeps the crust tender.
Q: Can I freeze the dough instead of baking it?
A: Yes! After the first rise, shape the dough, wrap tightly in plastic, and freeze for up to 1 month. Thaw overnight in the fridge, then let it rise before baking.
Conclusion: Sandwich Bread Recipe
There’s nothing more satisfying than pulling a golden, fragrant loaf of homemade sandwich bread out of the oven. With this simple 5-step recipe, you’ll never go back to store-bought—plus, you’ll save money and avoid preservatives.
Whether you’re making sandwiches, toast, or French toast, this bread is a versatile kitchen staple that everyone will love. And the best part? You can customize it with honey, seeds, or herbs to make it your own.
So, preheat that oven and start baking—your future self (and your family) will thank you! And if you loved this recipe, don’t forget to try our Cinnamon Swirl Bread next for a sweet twist.
Happy Baking! 🍞✨
Print
THE BEST Sandwich Bread Recipe
- Total Time: 2 hrs 15 mins (includes rising)
- Yield: 1 loaf (12 slices) 1x
- Diet: Vegetarian
Description
Soft, fluffy, and perfectly sliceable—this homemade Sandwich Bread Recipe is a game-changer! With just 5 simple steps, you’ll bake a loaf that’s better than store-bought. Ideal for sandwiches, toast, or slathered with butter.
Ingredients
- 3 cups (360g) all-purpose flour (or bread flour)
- 1 cup (240ml) warm milk (110°F)
- 2 tbsp (30g) unsalted butter, melted
- 2 tbsp (25g) sugar (or honey)
- 1 tsp (5g) salt
- 2 ¼ tsp (7g) instant yeast
(Optional add-ins: 1 tbsp honey, sesame seeds, or herbs)
Instructions
- Activate yeast: Mix warm milk, sugar, and yeast. Let sit 5 minutes until foamy.
- Make dough: Add melted butter, salt, and flour. Mix until a shaggy dough forms.
- Knead: Turn onto floured surface; knead 8–10 minutes until smooth.
- First rise: Place in greased bowl, cover, and let rise 1 hour (until doubled).
- Shape & second rise: Punch down, shape into a log, and place in a greased 9×5″ loaf pan. Rise 30 minutes.
- Bake: Preheat oven to 350°F (175°C). Bake 25–30 minutes until golden. Cool before slicing.
Notes
- No loaf pan? Shape into rolls or bake free-form.
- Softer crust: Brush baked loaf with melted butter.
- Whole wheat option: Substitute half the flour (add 1–2 tbsp extra liquid).
- Prep Time: 15 mins
- Cook Time: 30 mins
- Category: Bread
- Method: Baking
- Cuisine: American
Nutrition
- Serving Size: 1 slice (60g)
- Calories: 150
- Sugar: 3g
- Sodium: 200mg
- Fat: 2.5g
- Saturated Fat: 1.5g
- Unsaturated Fat: 1g
- Trans Fat: 0g
- Carbohydrates: 28g
- Fiber: 1g
- Protein: 4g
- Cholesterol: 5mg
Keywords: sandwich bread recipe, homemade bread, easy white bread, soft sandwich loaf

